

Container queries are amazing. They let us build UI that allow a component looks good no matter what size the component is displayed at.
But this feature also makes it difficult to test container queries.
If you do it normally, you have to resize your browser many times, which can be irritating and a huge waste of time.
There is a better way.
There are two ways to make things easier
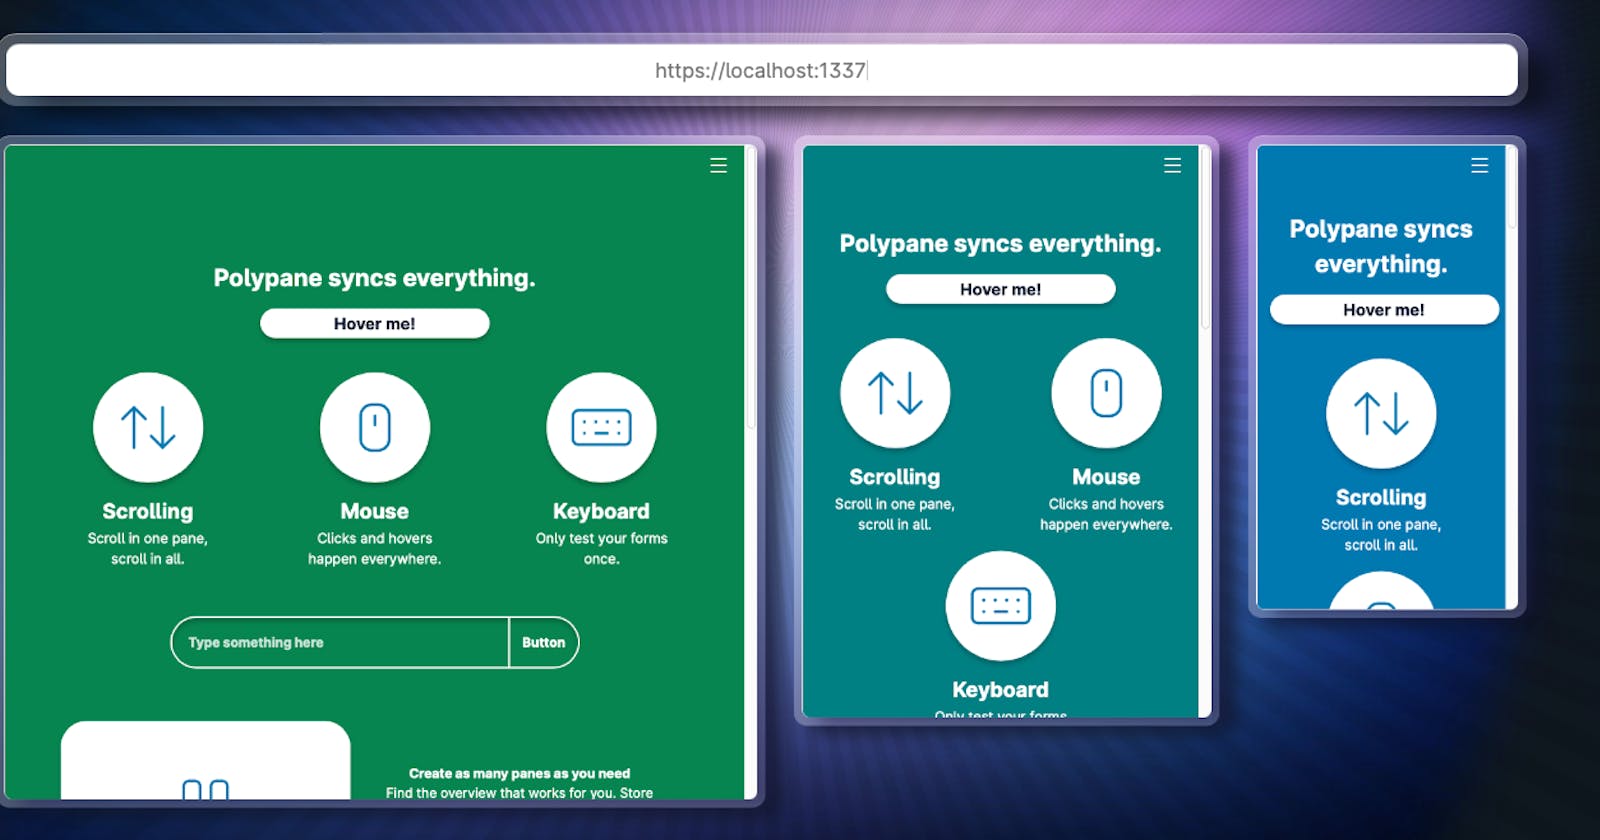
The first is to use a browser like Polypane that lets you debug multiple viewports at the same time. It costs only $9/m and it has the potential to reduce a lot of developmental headaches.

If you don't want to spend any money, the second way is to debug your components with a utility that lets you display the component in many different sizes.

Here's how the utility works
The basic idea is:
- You create a series of containers at different widths.
- Then you insert the component into each container.
- And each container will let you see what the component looks like at that width.
You'll find the code below.
I’ve written this in Astro because I currently use Astro. But this can be reworked for React, Vue, Svelte, Nunjucks, Pug, and all sorts of frameworks and template engines easily.
---
let { containers, increment, startAt } = Astro.props

// Default options
containers = containers || 10 // Show 10 containers
increment = increment || 50 // Containers should increase by 50px each time by default
startAt = startAt || 300 // The smallest container is 300px wide
---

<div class='CQTestGrid'>
  {
    [...Array(containers)].map((_, i) => {
      const width = i * increment + startAt + 'px'
      return (
        <div style={`width: ${width}`}>
          <div class='size'>{width}</div>
          <slot />
        </div>
      )
    })
  }
</div>

<style>
  .CQTestGrid {
    display: flex;
    flex-flow: row wrap;
    padding: 1rem;

    > * {
      margin: 0.5rem;
    }
  }

  .size {
    font-size: 0.8rem;
    color: #666;
  }
</style>
Here's how you would use the utility in an actual test.
---
import CQTest from '../components/CQTest.astro'

const props = {
  containers: 10,
  increment: 25,
  startAt: 100,
}
---

<Base>
  <CQTest {...props}>
    {
      [...Array(props.containers)].map(_ => (
        <div class='“Container”'>Your component here</div>
      ))
    }
  </CQTest>
</Base>
By using this, I can make sure the component looks great all the time.
Take this out for a spin! 🙃
I hope this utility helps you reduce the problems you may face as you make the best UI you can!
By the way, this article is originally written on my blog. Feel free to visit that if you want to have these articles delivered to your email first-hand whenever they're released! 🙂.